
05
Oct
Oct

How to Install Quick Heal Antivirus on Laptop: Step-by-Step Guide
- QuickHeal / 10 minutes
- October 5, 2026
- 0

Installing antivirus software is an important step toward protecting your laptop from malware, ransomware, phishing attempts, and other online threats. However, downloading and activating security software can sometimes feel confusing, especially if you are installing it for the first time.
If you have purchased a Quick Heal security product for your Windows laptop, the installation process is straightforward. You need to download the correct installer, complete the setup, activate the product using your Product Key, and update the security software before starting a scan.
This guide explains how to install Quick Heal Antivirus on your laptop, from choosing the right product to completing activation and setting up essential protection.
How to Install Quick Heal Antivirus: A Quick Overview
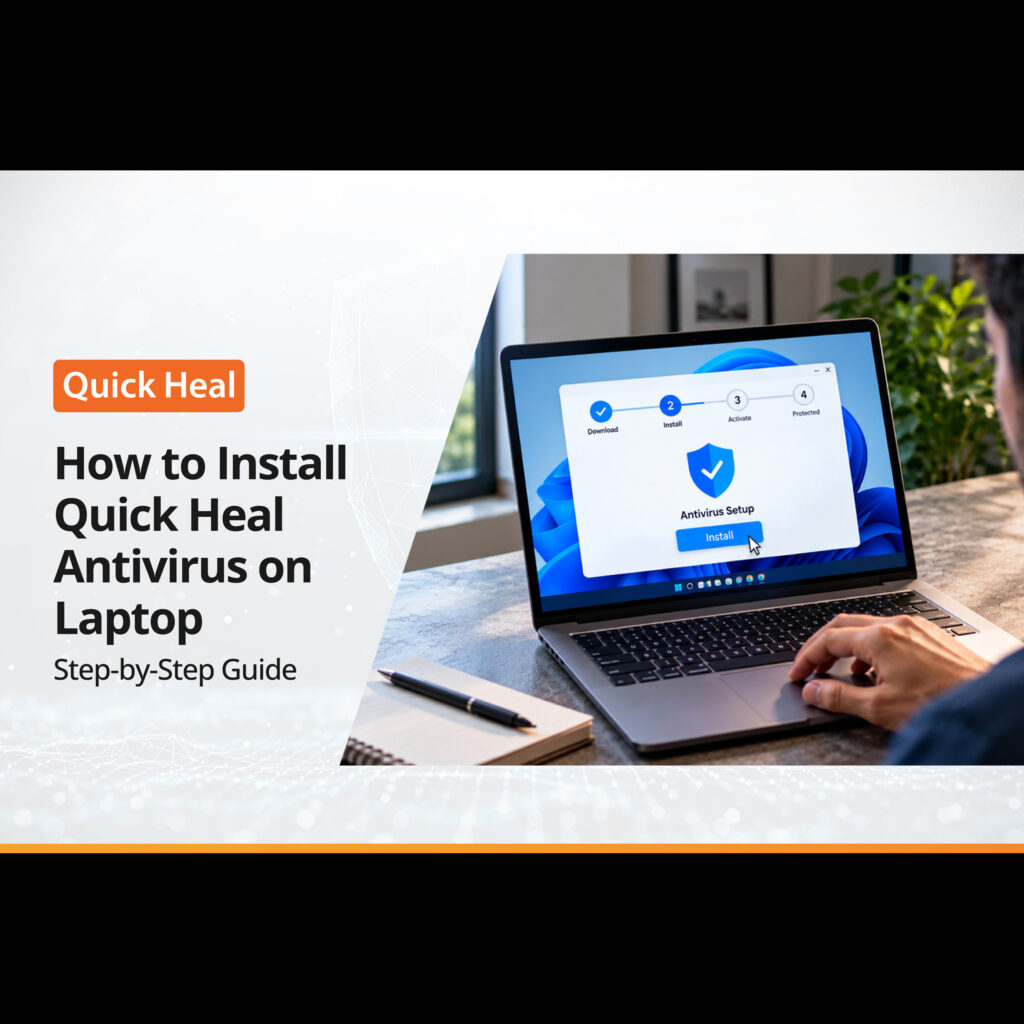
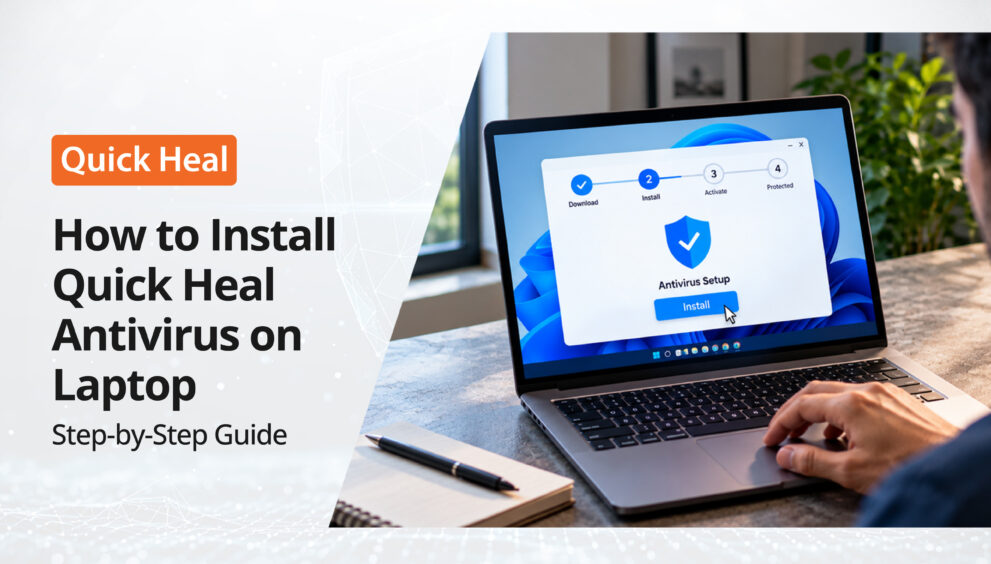
The basic Quick Heal installation process involves four steps:
- Choose the Quick Heal product that matches your requirements.
- Download the installer from the official Quick Heal website.
- Install the software by following the on-screen instructions.
- Activate the product using your Product Key.
After activation, make sure Quick Heal is updated so that your laptop has access to the latest available security updates and threat protection.
Before starting the installation, keep your Product Key and registered email address or purchase details available. You should also check whether another antivirus program is already installed on your laptop.
Choosing the Right Quick Heal Product Before Installation
Quick Heal offers different security products for users with different protection requirements. Choosing the right product before downloading the installer helps ensure that you install the software associated with your purchase and Product Key.
Quick Heal Product Comparison
Product | Suitable For | Key Protection Features |
Quick Heal Total Security | Users looking for comprehensive device and digital protection | Malware protection, anti-ransomware protection, Safe Banking, SafePe, Smart Parenting and additional security features |
Quick Heal Internet Security | Users who spend significant time browsing and working online | Web protection, malware protection, phishing protection and additional online-security features |
Quick Heal Antivirus Pro | Users looking for essential antivirus protection | Protection against malware and other common digital threats, along with additional security features |
Features may vary by product, operating system, version, and subscription plan. Check the latest Quick Heal product page for current specifications.
Quick Heal Total Security
Quick Heal Total Security is designed as a comprehensive security solution for users who want protection across different areas of their digital activity.
Depending on the supported platform and plan, features include malware protection, anti-ransomware protection, Safe Banking, SafePe, and Smart Parenting.
If you want additional protection for online banking, family devices, and everyday digital activities, review the features included with Total Security before purchasing.
Quick Heal Internet Security
Quick Heal Internet Security focuses on protecting users while they browse, communicate, shop, and work online.
Its security capabilities include protection against malware and unsafe websites, along with features designed to help users browse the internet more safely.
This can be useful for users who spend a significant amount of time online and want protection beyond basic antivirus scanning.
Quick Heal Antivirus Pro
Quick Heal Antivirus Pro provides essential antivirus protection for users who want to protect their laptop against common malware and other digital threats.
Before downloading any installer, check the product name on your purchase confirmation and make sure you download the corresponding software.
Before You Install Quick Heal Antivirus
A few checks before installation can help avoid common problems.
Check Your Product and Product Key
Make sure you have purchased the Quick Heal product you intend to install and keep your Product Key accessible.
Depending on how you purchased the product, the key may be available in your purchase confirmation email, invoice, or physical product packaging.
Check for Existing Antivirus Software
If another antivirus program is already installed on your laptop, check its compatibility before installing Quick Heal.
Running multiple real-time antivirus programs at the same time can cause software conflicts or affect system performance. If you are replacing an existing antivirus solution, uninstall it according to the vendor’s instructions before installing Quick Heal.
Connect to the Internet
An active internet connection may be required to download the installer, activate your product, and receive the latest security updates.
How to Install Quick Heal Antivirus on Your Laptop
Once you have selected the appropriate product and completed the preparation steps, follow these instructions.
Step 1: Visit the Official Quick Heal Website
Go to the official Quick Heal website and navigate to the relevant product or Home Users section.
Make sure you are downloading the software from the official Quick Heal website. Avoid downloading antivirus installers from unknown third-party websites.
Step 2: Download the Quick Heal Installer
Select the Quick Heal product you have purchased and download the appropriate installer.
The downloaded file may be an executable installer, depending on the product and current version.
Your browser will normally save the file in your Downloads folder unless you have selected another location.
Step 3: Open the Installer
Once the download is complete:
- Open your Downloads folder.
- Locate the Quick Heal installer.
- Double-click the installer to start the setup.
- If Windows displays a User Account Control prompt, review the application information and select Yes if you want to continue.
The installation process will then begin.
Step 4: Follow the Installation Instructions
The Quick Heal setup wizard will guide you through the installation.
Follow the instructions displayed on your screen and review the applicable licence terms.
If you are asked to select an installation location, the default location is generally suitable for most users.
Continue with the installation and allow the setup process to complete.
Step 5: Activate Quick Heal Using Your Product Key
After installation, you may be asked to activate your Quick Heal product.
Enter the Product Key associated with your purchase and follow the on-screen activation instructions.
Your Product Key is generally provided with your purchase confirmation or product packaging, depending on how you purchased the software.
Enter the key carefully and complete the activation process.
Step 6: Restart Your Laptop If Required
Depending on the installation and your system configuration, Quick Heal may ask you to restart your laptop.
Save any open work and restart the device if prompted.
Once the system restarts, open Quick Heal and confirm that the product is installed and activated.
What to Do After Installing Quick Heal
Installing and activating antivirus software is only the first step. Once Quick Heal is running on your laptop, complete these additional steps to get your security setup ready.
1. Update Quick Heal
Check for the latest available product and security updates after installation.
Security threats continue to evolve, so keeping your security software updated helps ensure that your product has access to the latest available protection.
Where automatic updates are available, keep them enabled unless you have a specific reason to change the setting.
2. Run a Full System Scan
After installation and updating, run a full system scan.
A full scan checks files and other areas of your laptop for potential threats. This is particularly useful if you are installing antivirus software on a device that has been operating without dedicated security protection.
If Quick Heal identifies a threat, follow the recommended action displayed by the software.
3. Enable the Security Features You Need
The features available to you depend on the Quick Heal product you have installed.
If your product includes features such as Safe Banking, SafePe, anti-ransomware protection, or Smart Parenting, review the relevant settings and configure them according to your requirements.
For example, users who regularly access online banking or make digital payments can review the banking and payment-protection features available with their Quick Heal product.
4. Keep Your Operating System Updated
Antivirus software is only one part of your laptop’s security.
Keep Windows and your installed applications updated with the latest security patches. Software updates can fix vulnerabilities that attackers may otherwise attempt to exploit.
5. Review Your Protection Status Regularly
Open Quick Heal periodically to check your protection status, update status, scan results, and any security alerts.
If the software reports that protection is disabled or requires an action, follow the recommended steps.
Common Issues During Quick Heal Installation
Sometimes an antivirus installation may not complete as expected. Here are a few things to check.
Quick Heal Is Not Installing
If the installation does not start or stops unexpectedly:
- Check that your laptop meets the product’s current system requirements.
- Make sure you have a stable internet connection if one is required.
- Check whether another security product is already installed.
- Restart your laptop and try the installation again.
- Download the installer again from the official Quick Heal website if the downloaded file appears incomplete or corrupted.
Product Key Is Not Working
If your Product Key is not being accepted:
- Check that you entered the key correctly.
- Make sure you are activating the product associated with that key.
- Check your purchase confirmation or product packaging for the correct key.
- Confirm that the key has not already been used or has not expired, where applicable.
- Contact Quick Heal support if the problem continues.
Quick Heal Is Installed but Shows an Activation or Update Issue
First, check your internet connection and restart the application.
If the issue continues, use the support resources available on the Quick Heal website and follow the troubleshooting instructions for your specific product.
Tips to Keep Your Laptop Protected
Installing Quick Heal can add an important layer of protection, but safe digital habits remain essential.
Follow these basic practices:
- Keep Quick Heal updated.
- Keep Windows and other applications updated.
- Avoid downloading software from unknown websites.
- Do not open unexpected email attachments.
- Verify suspicious links before clicking them.
- Use strong and unique passwords.
- Enable multi-factor authentication wherever available.
- Never share OTPs, PINs, passwords, or banking credentials.
- Verify unexpected payment requests before making a transaction.
- Back up important files regularly.
- Run regular security scans.
Remember that antivirus software can help detect and block many threats, but no security solution can eliminate every cyber risk.
Conclusion
Installing Quick Heal Antivirus on a laptop does not have to be complicated. Start by choosing the appropriate Quick Heal product, download the installer from the official website, follow the installation instructions, and activate the product using your Product Key.
Once installation is complete, update Quick Heal, run a full system scan, and configure the security features available with your product. Keeping both Quick Heal and your operating system updated will also help maintain your laptop’s security over time.
If you are looking for security protection for your laptop, explore the latest Quick Heal Home Users products and choose the solution that matches your requirements.